Soon the new year. And, as always, at this time there is a problem of making calendars for next year. Of course, you can manually build calendar grid and it's not difficult. But in CorelDRAW editor is a macro that significantly simplify this boring stage.
Calendar generation - available in Macros section of menu. Let's do this step by step:
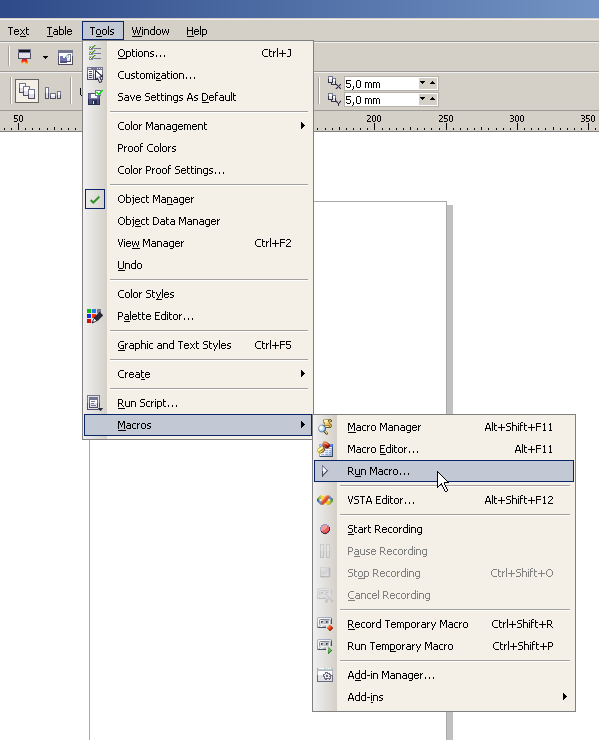
1. Select the menu item Tools -> Macros -> Run Macro...
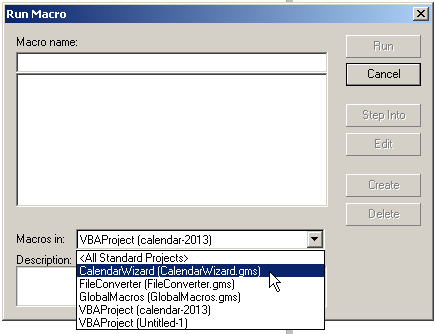
2. On the Run Macro window choose CalendarWizard.
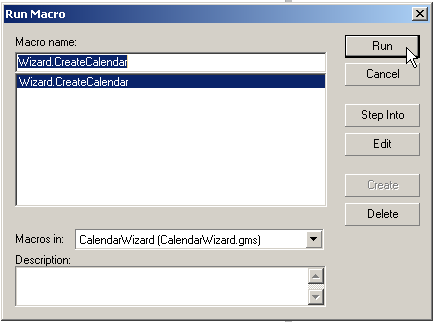
3. Click Run button.
4. A window Oberon Calendar Wizard will open. Click Expand to open the big preview window. It will show all of our changes.
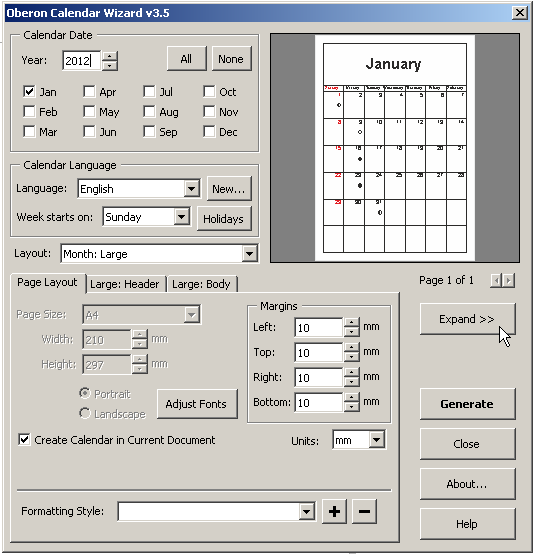
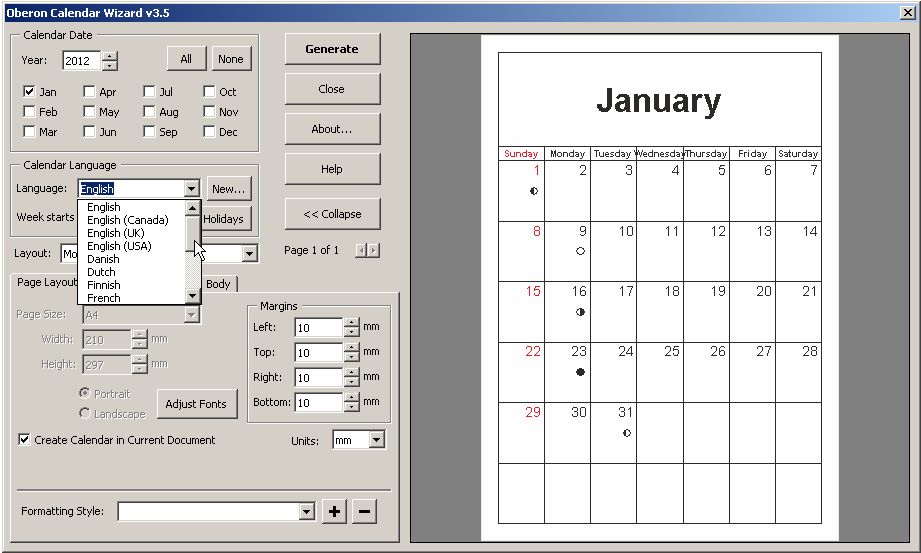
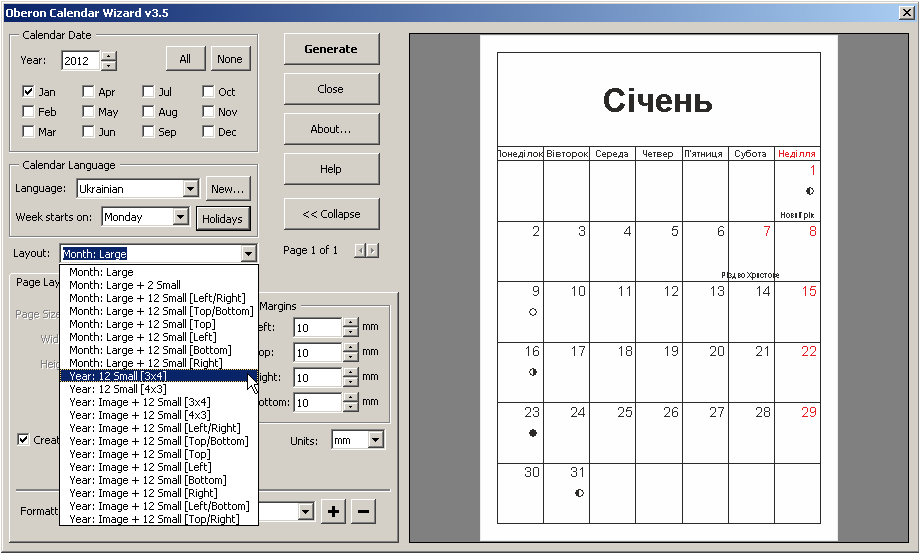
5. Next, specify year and month for which you want to generate the calendar. Select language and start day of the week.
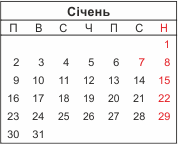
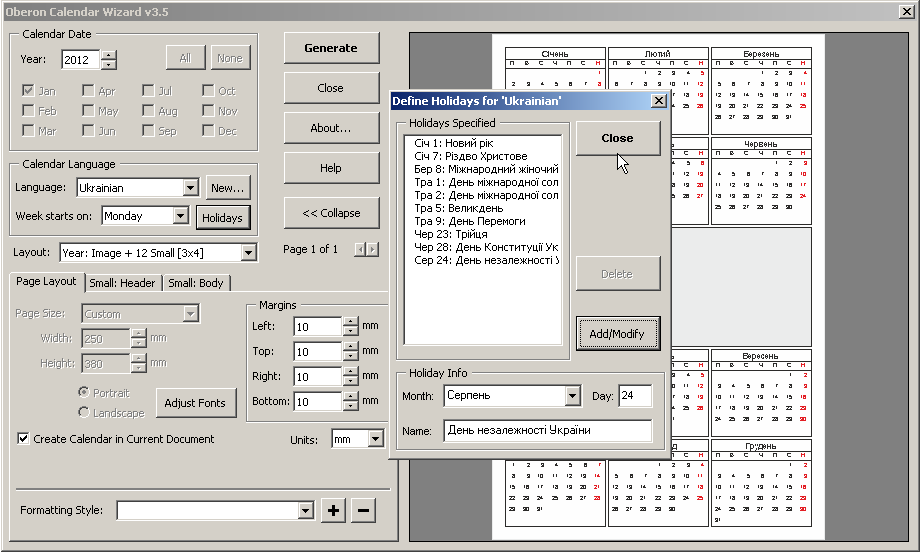
6. According to the chosen language, you can specify a list of holidays. Let's choose the Ukrainian language and set state holidays for Ukraine.
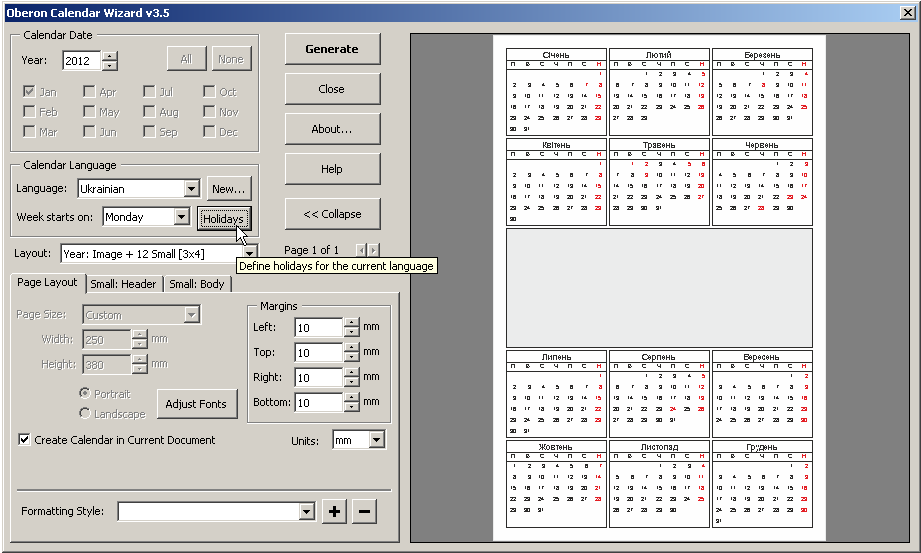
7. The next step - choose a layout of calendar. Note there are tabs with are additional features settings (placement, fonts, colors, sizes, and margins and spacing).
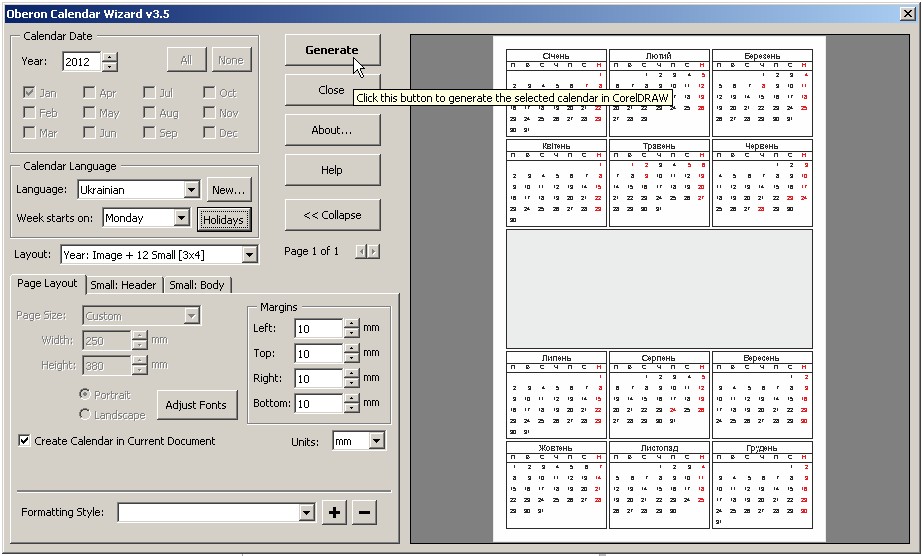
8. After all settings click Generate for generate the calendar.
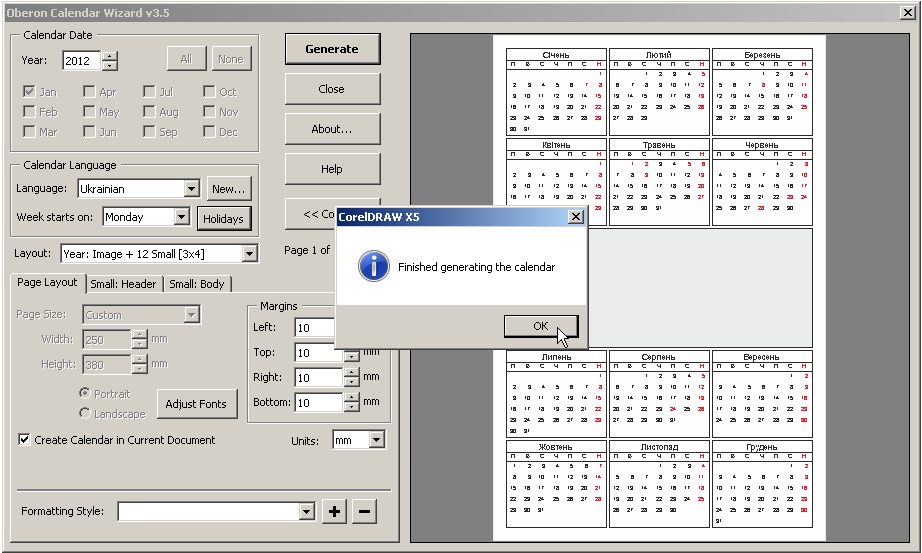
9. Click OK after generation and close the wizard.
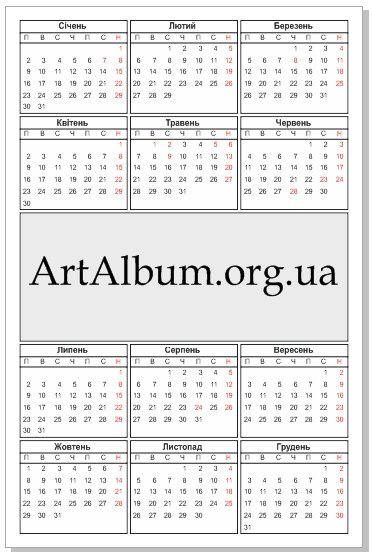
10. Result of generation you can see on the last picture
Have fun generation!


3 comments to «Calendar generation in CorelDRAW»
Ой, як цікаво! Ми звичайно по своєму якось то розуміємо шо воно таке генерація. Але календарічок вже схотіли.:)) харашо пишете!
Дякую! Спробуйте - це просто!
Nice info
Leave a Comment